Step 1
“Cottage Lane “- Watercolor painting of Kent England by Roland Lee. 5″ x 8”

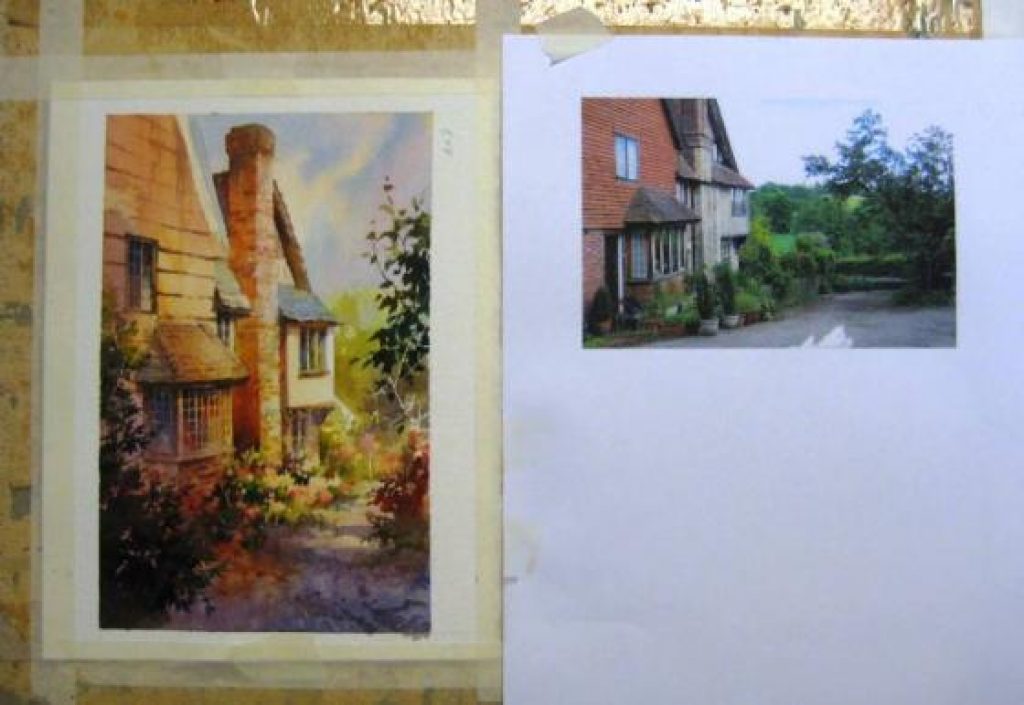
Step 2
It is obvious I am not relying too heavily on the photo reference at right, other than for architectural reference. I am more concerned with creating a new image based on my feelings.

Step 3
Prior to starting thepainting I worked out the color scheme on a piece of scrap watercolor paper. I do this frequently making notes of the colors used. I then file this away where I can reference it later.

Step 4
After lightly sketching in an outline drawing on my watercolor paper, I use a wet in wet technique to lay in broad washes of color. I let the bold colors blend naturally in the wet wash moving from very warm to very cool in the shadow areas. This will create the drama I am looking […]

Step 5
After the large washes dry, I begin painting the darker areas on the buildings.